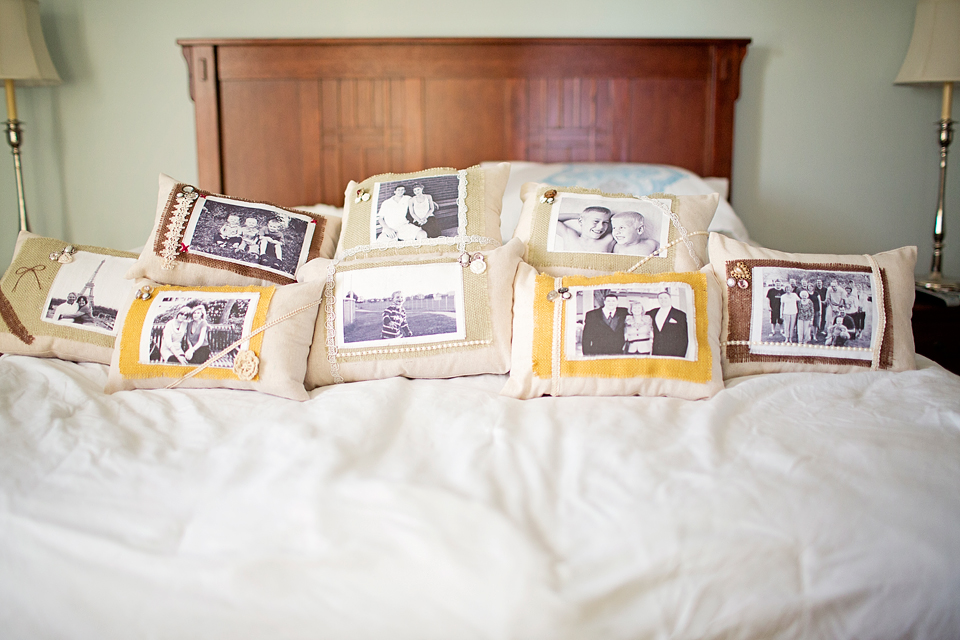
My friend Kelly and were looking for gift ideas earlier this year and she came across a pillow photo concept on – you guessed it – PINTEREST! (related: follow me, here.) So we decided to put our own spin on it.
Here’s what you need:
– Selected photos (one or two per pillow)
– Muslin fabric
– Burlap fabric in multiple colors (if you’re making several)
– Stuffing. I think the term is actually batting, but if you aren’t new to fabric crafts you may not know that. so. there. stuffing it is.
– Fabric paper for your printer. Sold at Hobby Lobby/Joann’s. It’s kind of pricey at about $25 for a pack of it, so bring a coupon!
– Random buttons or other embellishments
– A sewing machine if you’re super crafty, for those of us (myself included) sans sewing machine… a hot glue gun suffices juuuussssst fine!
– A ruler/cutting mat, scissors, glue gun.
…and I think that’s it.
Step 1: Figure out which photos you want to use. We chose to print black and white. I can’t imagine how good a color photograph would look since they are printed on an inkjet printer. (read: INKJET. very important.)
Step 2: Print said photographs on fabric paper. This stuff is neat. It has a paper backing that you peel off after it’s run through the printer and dry. Tip: Maximize the paper by printing more than one photo on each piece if you’re working on a smaller pillow. Please note: This is NOT the fabric transfer paper that you iron on things. This is actually fabric.
Step 3: Figure out what size pillows you’re going to make. You may want to base this on the photos you’re going to use. To keep it simple, we made all of our pillows approximately the same size since we were making so many.
Step 4: Start cutting the fabric into sections. We chose to cut all of our fabric at once.
Step 5: Since we didn’t have a sewing machine (or any actual sewing skills) we used what we use for everything. A hot glue gun. (A cordless one like this would have been super helpful, but I’m pretty sure mine is from the dollar store.) We used fabric tape for the long edge, and glue gunned the ends shut.
Step 6: We chose to make the backs of ours look like wrapped presents. We felt this might be the most practical way to seal in the batting, because we were using hot glue and it would have been difficult to close the final edge. Plus, it adds some design element to the backs of the pillows! Start by gluing two sides together, then flip it inside out so the seam is on the interior.
Step 7: Seal one end like a present (see photo to see what I mean by “present”), hot glue the crap out of it, then sit something heavy on it to seal tight and go to the next. Tip: If you do it in sections the glue will be hotter and will make the fabric bond really tight. So do THAT.
Step 8: Grab the colored burlap, cut it larger than the photo currently is. Pull off some of the pieces to make it look intentionally worn down. You could use spray adhesive to make sure it doesn’t come apart any more, but we didn’t. Stack the burlap under the photo, glue it into place making sure to center the photo on the pillow (taking into consideration the final fold. The burlap adds another texture to the pillows and adds a pop of color to the black and white photo.
Step 9: Embellish with ribbons, buttons, etc. Personalize for each person and make it unique to you! It’s way, WAAAAYYY easier to do this before the pillow is stuffed.
Step 10: Stuff with batting. Like, a lot of batting. We actually opted to get the roll of batting, then make it into a pillow form, then stuff extra batting in there. We thought this would keep them from being lumpy. I think it helped, but it’s not absolutely necessary.
Step 11: Swear like a sailor as you try desperately to fold the open end into a closed, presentable “present-like” position all the while gluing it shut. It’s fun, promise!
Step 12: Sit something super heavy on it. We used a monstrous ceramic face jug (don’t even ask what THAT thing is.. it would scare you away from my blog). This helps to let the glue dry without the batting pushing the end back open.
And that’s it!
I recommend doing several of these at one time, because I think it would be daunting to try one then go back wanting to make more. It’s easier to batch them, you’ll see what I mean! I think it’d be cheaper to because each of these take such a little amount of the materials that you can make each additional pillow for an economically low price! Plus, there is that immense satisfaction you get when you realized you made an entire bed full of custom pillows for your friends and family!
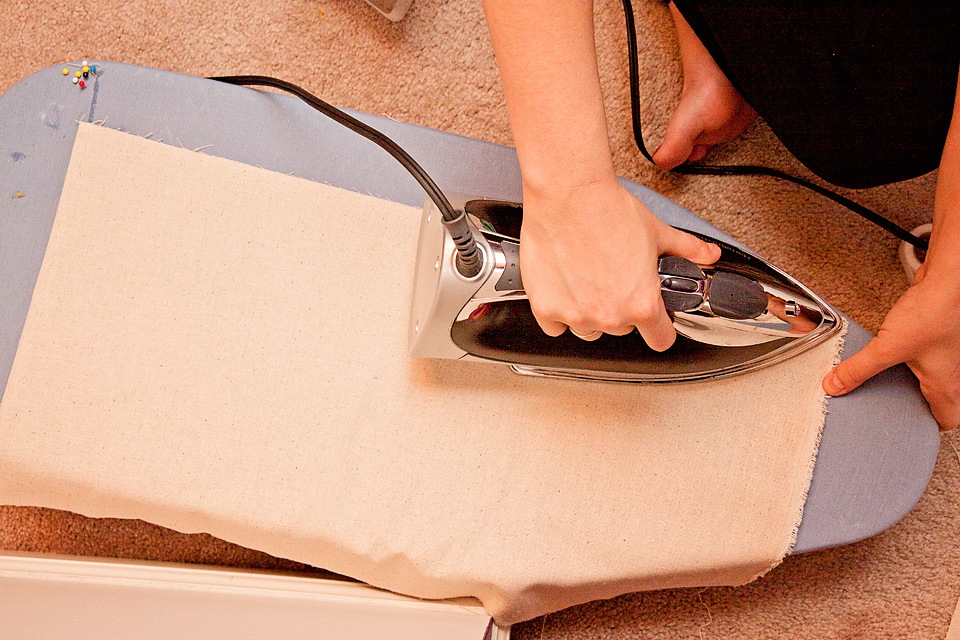
Like anything, you learn by trial an error. For instance, we first thought we’d be fancy and use fabric tape in lieu of thread to sew the pillows before breaking down and using hot glue. We thought we were just so slick to have discovered this magic tape that saves finger sticks, frustration and time. We. were. wrong. The fabric tape is great for the first section you have to secure together. But to “sew” all of those little sections on the wrapped section was just too much. The reality of the fabric tape is that you have to iron each piece. You stick it between the fabric you want to “sew” and place a hot iron on it until it melts the tape and then you have to sit something heavy on it to really seal well. It takes FOREVER. So inevitably my short attention span would get drawn away to something else and I found that if you left the iron on too long (surprise!) it discolored the fabric and made it very stiff. Good stuff, just too time consuming for the sheer scope of our project (and the (lack of) time we had allotted to finish!).


All in all, I’d say this project was a success. The recipients of the pillows seem to enjoy the handcrafted aspect of their gifts and it’s great to give someone something that they couldn’t just buy for themselves.
Good luck! Share your Pinterest project successes in the comments!


